
Today I’ll investigate this beneficial product of the hive
When you tell someone you are a beekeeper, the first (and possibly only) thing they think about is honey. Next, they usually ask if you get stung and whether it hurts. Few non-beekeepers think about other products of the hive, though. Some may be aware of propolis, having seen it as a tincture on the shelves of the local health food shop. However, not many will ask about beeswax. It is possibly the most overlooked, but one of the most valuable materials that bees produce. Indeed, they could not live without it as they use it to construct their nest and, without that the colony could not function.
Where does beeswax come from?
Although all insects produce wax and use it to help stop their bodies drying out, honeybees are the only insects that produce beeswax. When it is required for nest building, they produce it in large quantities.
Beeswax is produced by four pairs of specialized wax glands situated under the abdominal plates of the worker bee; it has over 300 components and requires bees to eat a lot of sugar, usually in the form of nectar or honey, but sometimes as syrup fed by the beekeeper. Development of the oenocytes, which produce the wax, depends on the worker bee eating pollen in the first few days of her life.
Bees can only produce wax if there is an incoming supply of nectar (or sugar) and the temperature in the colony is around 95°F (35°C). Tiny wax scales are extruded from the wax glands. The bee picks these up with the pollen brushes on the insides of her back legs then transfers them forward. Saliva is added and the flakes are kneaded until they are pliable. The soft wax is then used to fashion the hexagonal cells of the comb. What is quite remarkable is the accuracy of the cell shape and the consistent thickness of the cell walls, as all this is crafted in complete darkness!
Bees primarily use wax to build their combs, although it is also used to cap over brood before it pupates and cells filled with honey. In a natural cavity, the combs hang from the top and are extended downwards as required by the colony. When bees are producing wax for comb-building, you can sometimes see them hanging in chains in the space.

Beeswax is produced in small scales from four pairs of glands on the underside of the worker’s abdomen

New comb constructed completely in the dark by the bees. Honey bees produce beeswax to build the combs that form their nest. The cells are used to rear the brood and to store honey and pollen

Bees sometimes build uneven comb or additional combs between frames. Extraneous pieces can be cut off when the comb is uncapped for extraction, and the wax recovered after the honey has been drained off

When a swarm occupies its new nest cavity, the first job is building comb. Sometimes there are just too many wax scales to deal with
How is beeswax collected?
The easiest way to build up your collection of wax, especially if you are a beginner or only have a few colonies, is by saving the cappings when you are extracting your honey. Slice through the cells to leave the remaining comb surface level with the top and bottom bars of the frame. This means that the combs can be replaced in any order in the super box after extraction as they will be of uniform thickness. Collect the cappings and any bulges in the comb in a container. These will inevitably include some honey so, for small amounts, put the cappings in a sieve and collect the drained honey. If you have a lot of cappings, you will have to devise a larger version of the sieve. The honey can be added to your main harvest, filtering it beforehand, if appropriate.
Old combs from the brood nest need to be changed regularly to reduce the risk Honey bees produce beeswax to build the combs that form their nest. The cells are used to rear the brood and to store honey and pollen. of disease. Such combs can be boiled in soft water to melt out the wax, which will float to the surface and can be removed after it has solidified. However, because the cells contain pupal cocoons which absorb wax, you will not get a good return, and it probably isn’t worth the effort.
How to clean beeswax?
All wax, even the clean-looking cappings, contains dirt particles, and these need to be removed before using the wax to make candles, polish or, in particular, any cosmetic items. Hard water contains chemicals which react with beeswax, so use soft water or clean rainwater to wash your cappings.
Use a stainless steel or glass container for your wax and add water. Stir the contents and drain off the water before drying the cappings.
Every time you filter wax you will lose some, which is retained in the filter material. It is, therefore, best to wait until you have collected a reasonable amount, say 1 lb (0.5 kg), before dealing with it. Dry cappings can be stored in a plastic bag in a cold place such as a freezer. At room temperature, any slight traces of honey may support mold growth.

However clean your wax cappings may look, they will still contain dirt that needs to be filtered out
How to melt beeswax?
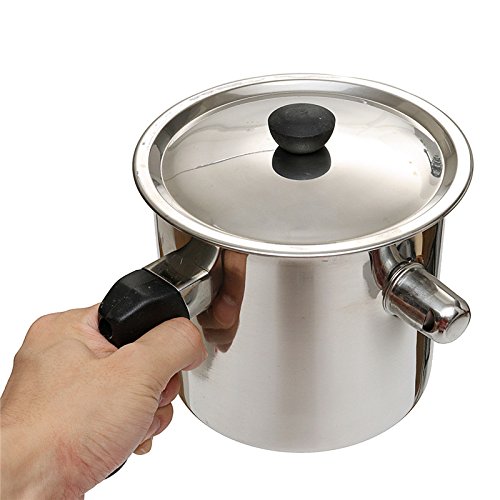
A double boiler is probably the safest method for melting wax. But a substitute can be made by supporting a glass or stainless steel bowl on top of a pan with a small diameter, containing some water. If you prefer melting beeswax without a double boiler and want to melt wax directly in a container, add some soft water and ensure the container has a volume at least twice that of the wax; the water tends to boil up, a bit like jam, and you don’t want it and molten wax going all over the stove. The melting point of pure wax is not precise, but it is certainly well below 212°F (100°C), so don’t let the water boil.
Will beeswax melt in the microwave? Yes, you can use the microwave to heat your wax over soft water as before, but apply the heat in bursts, stirring between them. Beeswax, in a bowl containing soft water, can be melted in a microwave using short bursts of power.

Melting beeswax using a glass bowl on top of a pan containing water
How to clean melt beeswax?
The filter you use needs to be relatively fine if you are to remove small particles of dirt. I use a double layer of disposable nappy liners, but an old cotton sheet or surgical lint also work well. As your filter will get clogged with dirt and wax, you will have to sacrifice it eventually. This means lint is an expensive option, but if you want really clean wax for a show or cosmetics, it is one of the best. Use it furry side up so that you don’t get fibers in your clean wax.
I use rubber bands to support the filter material at one end of a clean tin can, which has had both ends removed. Support the tin over a collecting receptacle and pour in the small amount of the liquid wax. If you fill up the tin and the filter blocks, you will have a big mess to deal with.

Molten wax should be poured through the filter in small batches so that the filter material can be changed more easily if it gets clogged. Filtering molten beeswax into a suitable container provides a block that can be stored for later use.

What can you use beeswax for
Traditional uses for beeswax include polish and candles, which can be molded or dipped. Beeswax is also used in a variety of skin creams and lip salves. Be aware that if you want to sell beeswax cosmetics, the ingredients must comply with legislation. However, if they are for your own use, you do not have to go through the rigorous testing requirements. A more unusual application is lotion bars which are essentially solid hand cream and can be more convenient to use than the more common liquid variety.
Beeswax candle making
The polish is one of the traditional uses of beeswax. The other one is candles. Originally, only rich people and the church could afford beeswax candles; the hoi polloi had to make do with messy, smelly tallow or animal fat. Beeswax burnt with a steady flame and a nice aroma. Now, with your own bees, and your own beeswax, there is nothing to stop you making your own candles, and they make lovely Christmas presents too. There are two important things for successful candle making. First, the wax needs to be free of impurities. If there are bits of dirt or small water droplets in the wax, these will cause the candle to sputter as it burns. Secondly, and possibly more importantly, the wick needs to be the correct size.
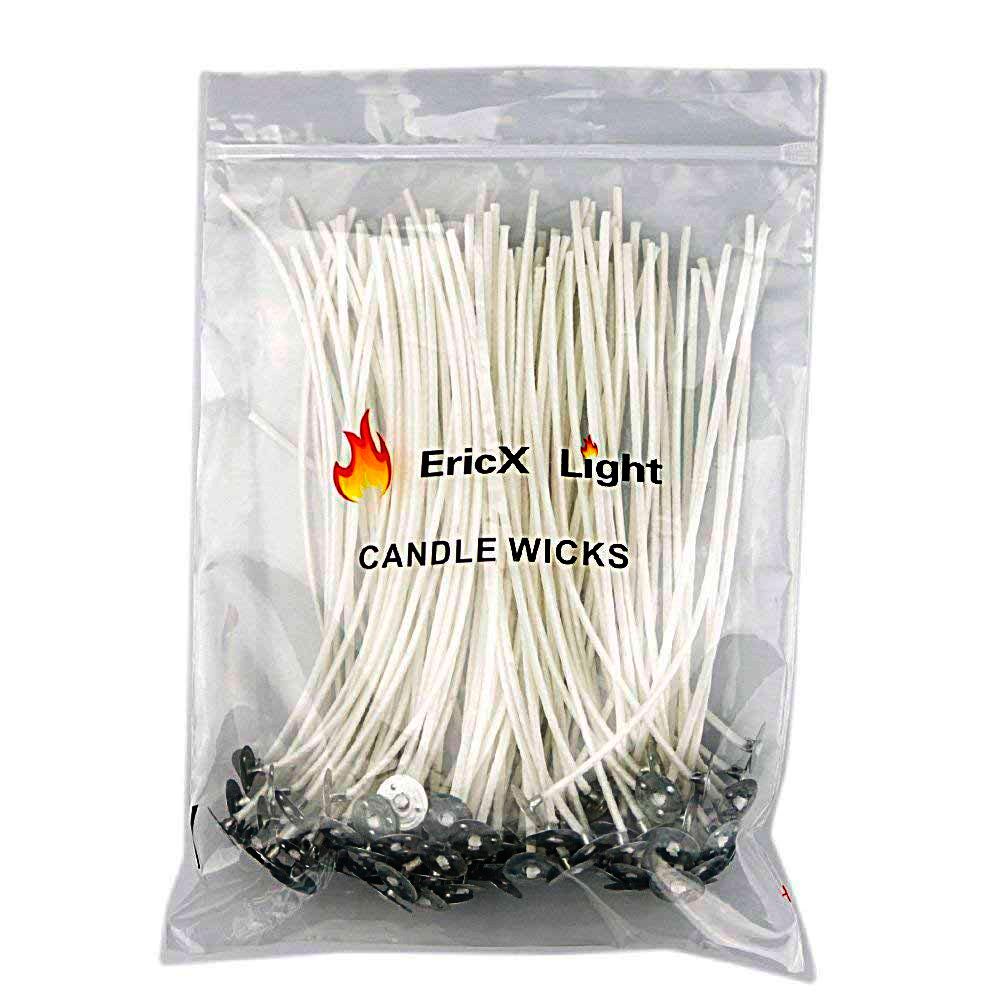
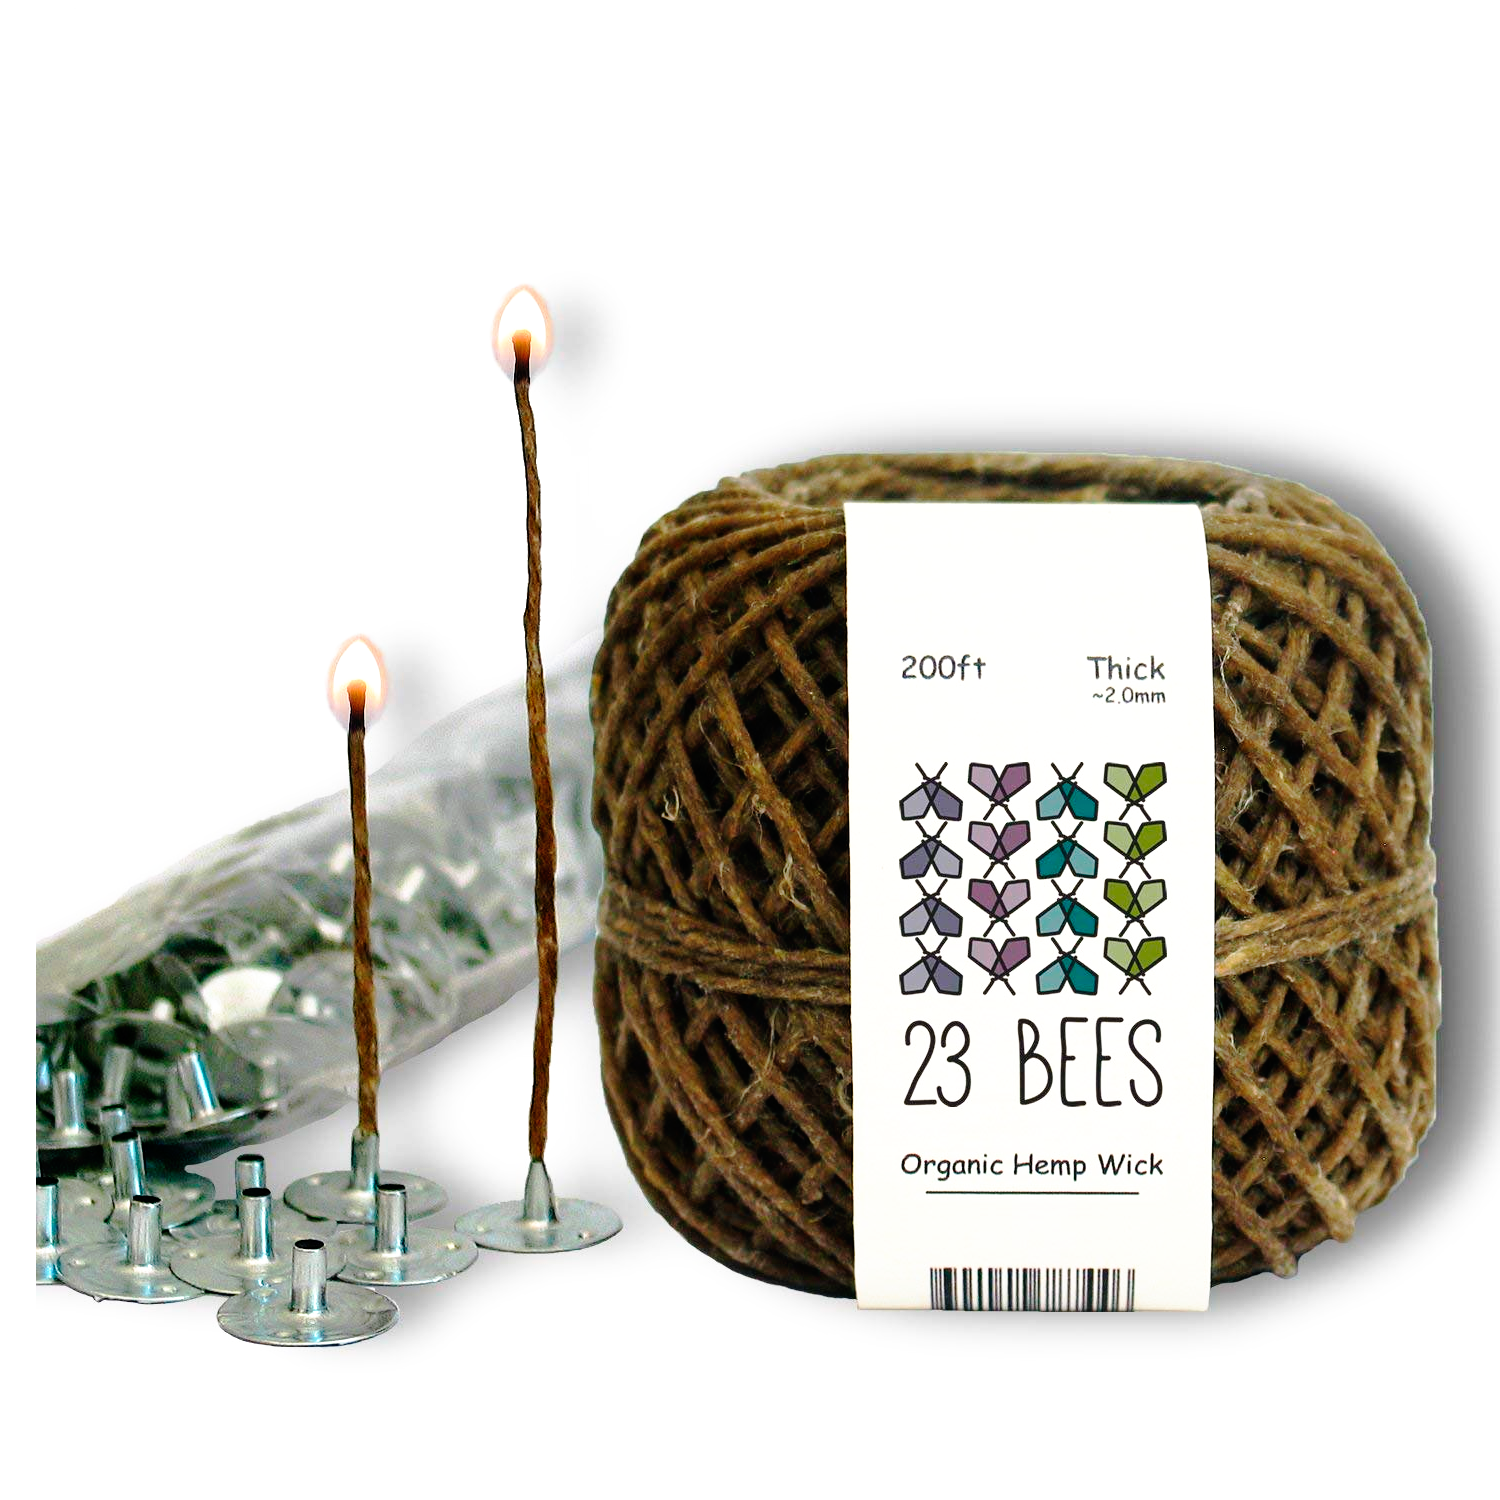
Best candle making wicks
Candlewick is plaited from many cotton fibers to ensure it burns evenly. The flame initially melts the wax which is then drawn up the wick and burnt, melting more wax to keep the candle alight.
The right thickness is one that melts the wax at the same rate as the candle burns. The top of the wick is burnt away and the candle goes down at an even rate. If a wick is too thin, insufficient wax is melted to keep the system going and the candle goes out. With a wick that is too thick, too much wax is melted and it ‘drowns’ the flame, producing a lot of smoke. The molten wax will also often spill over the edge, producing dribbles down the sides.
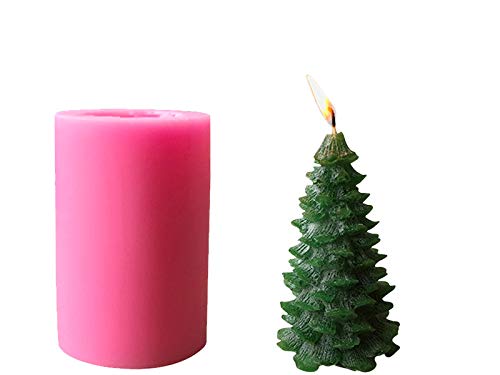
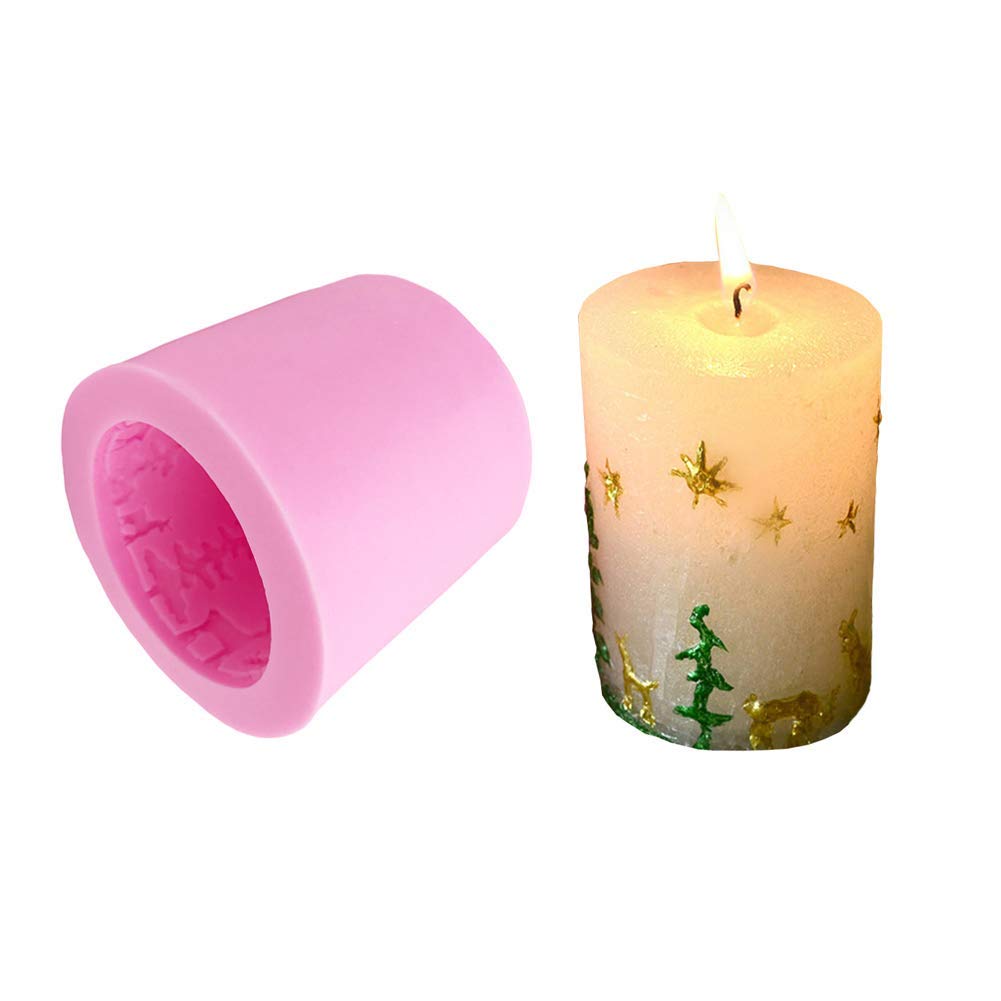
Paraffin wax burns differently from beeswax, so make sure you buy wick specifically for the latter. This is available from bee equipment suppliers. Getting the right-sized wick is easy for straight, even candles, but if you are producing a fancy candle with an irregular shape, such as a Christmas tree, you have to take the best guess. If this is burnt, the chances are that the chosen wick size will be too thick for the thinner part at the top and then too thin for the wider base. However, many decorative candles are kept as ornaments rather than being lit, so often the problem can be avoided. Just in case, you need to make the best guess in case the candle is burnt.

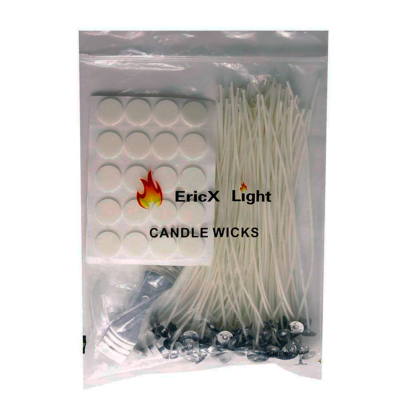
Wax sheet and cotton wick for candle making
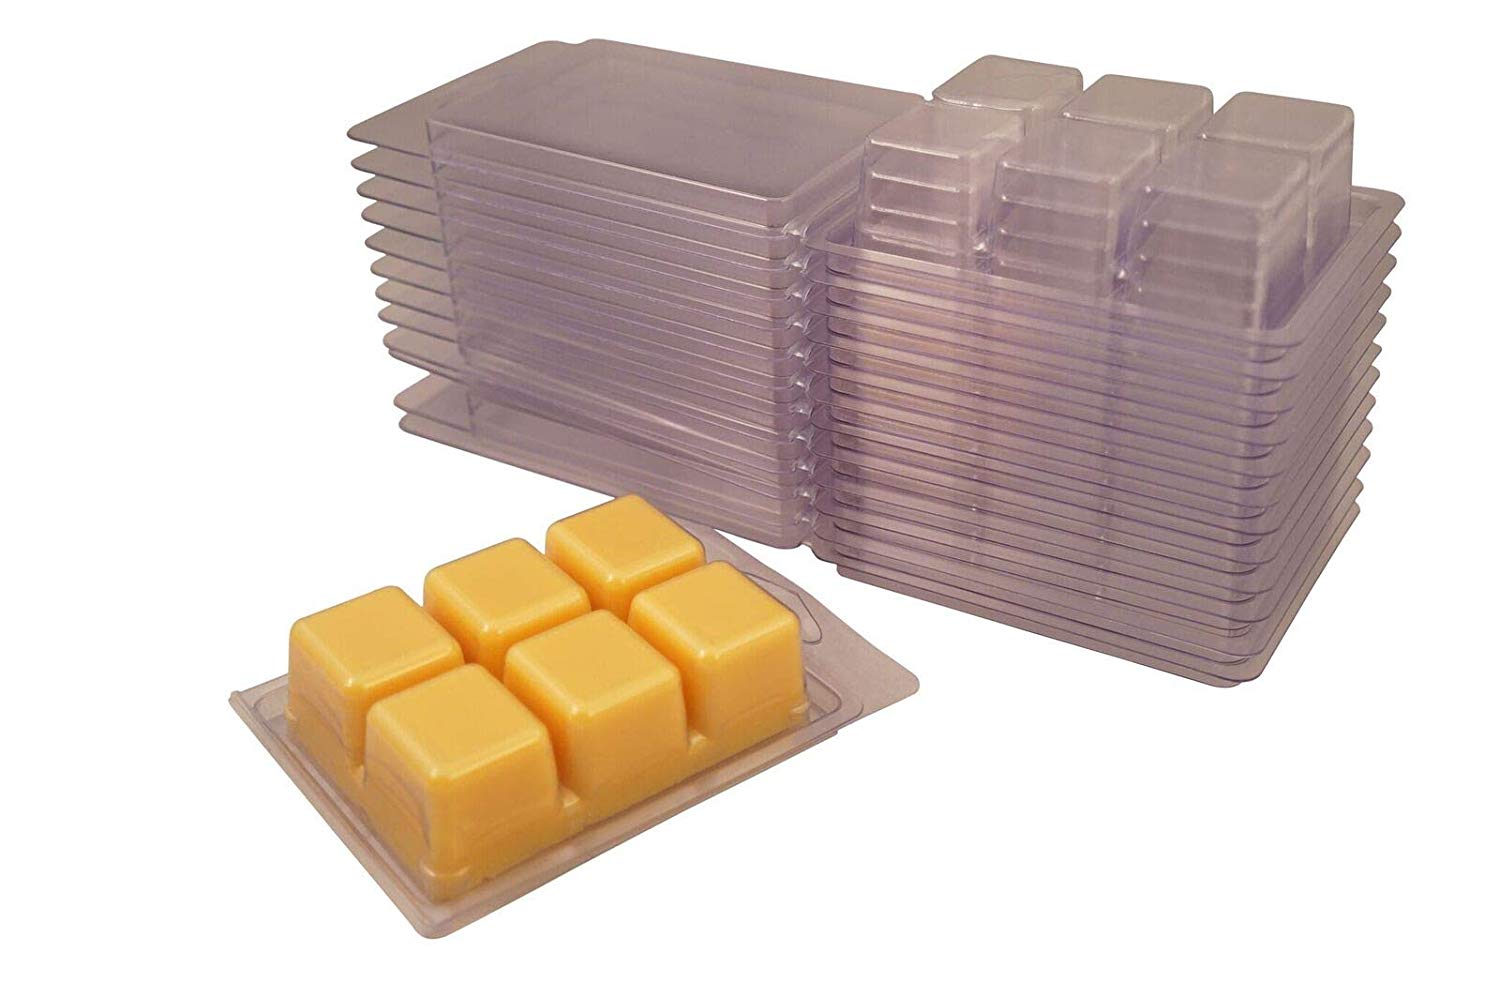
The molds
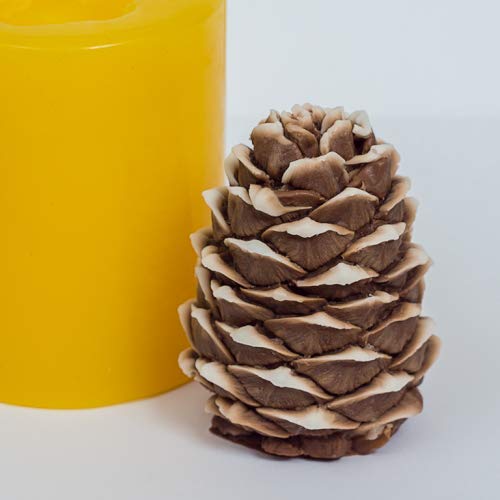
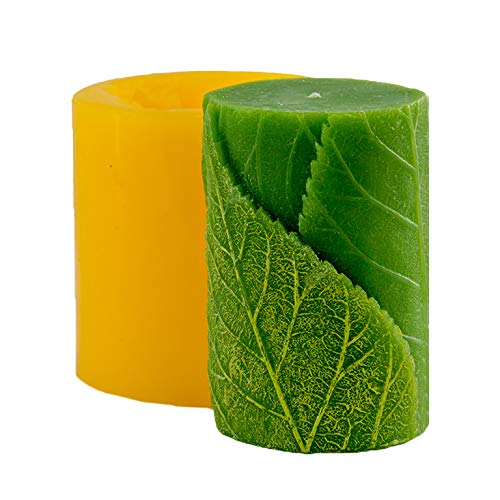
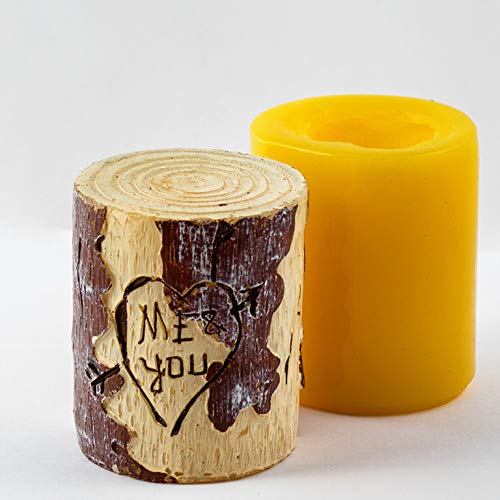
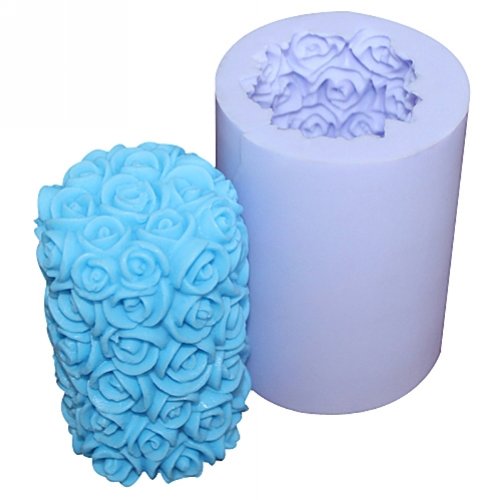
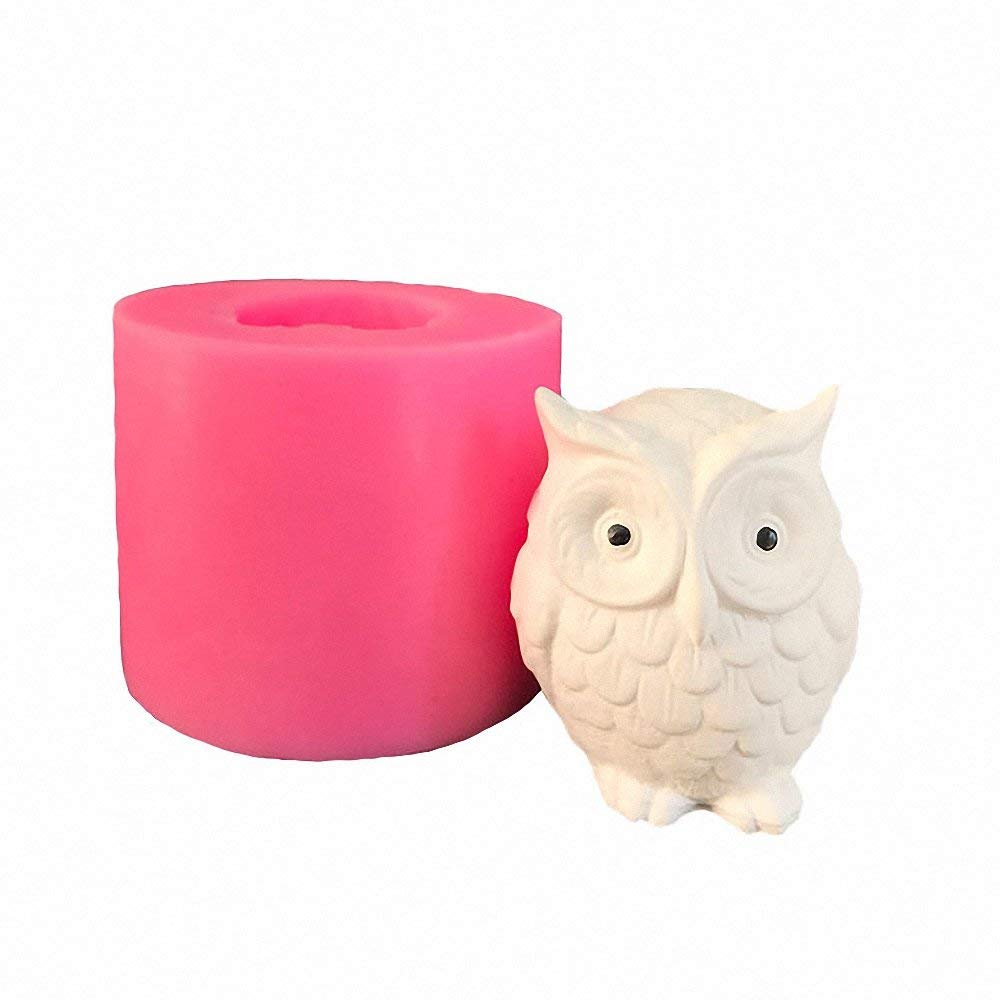
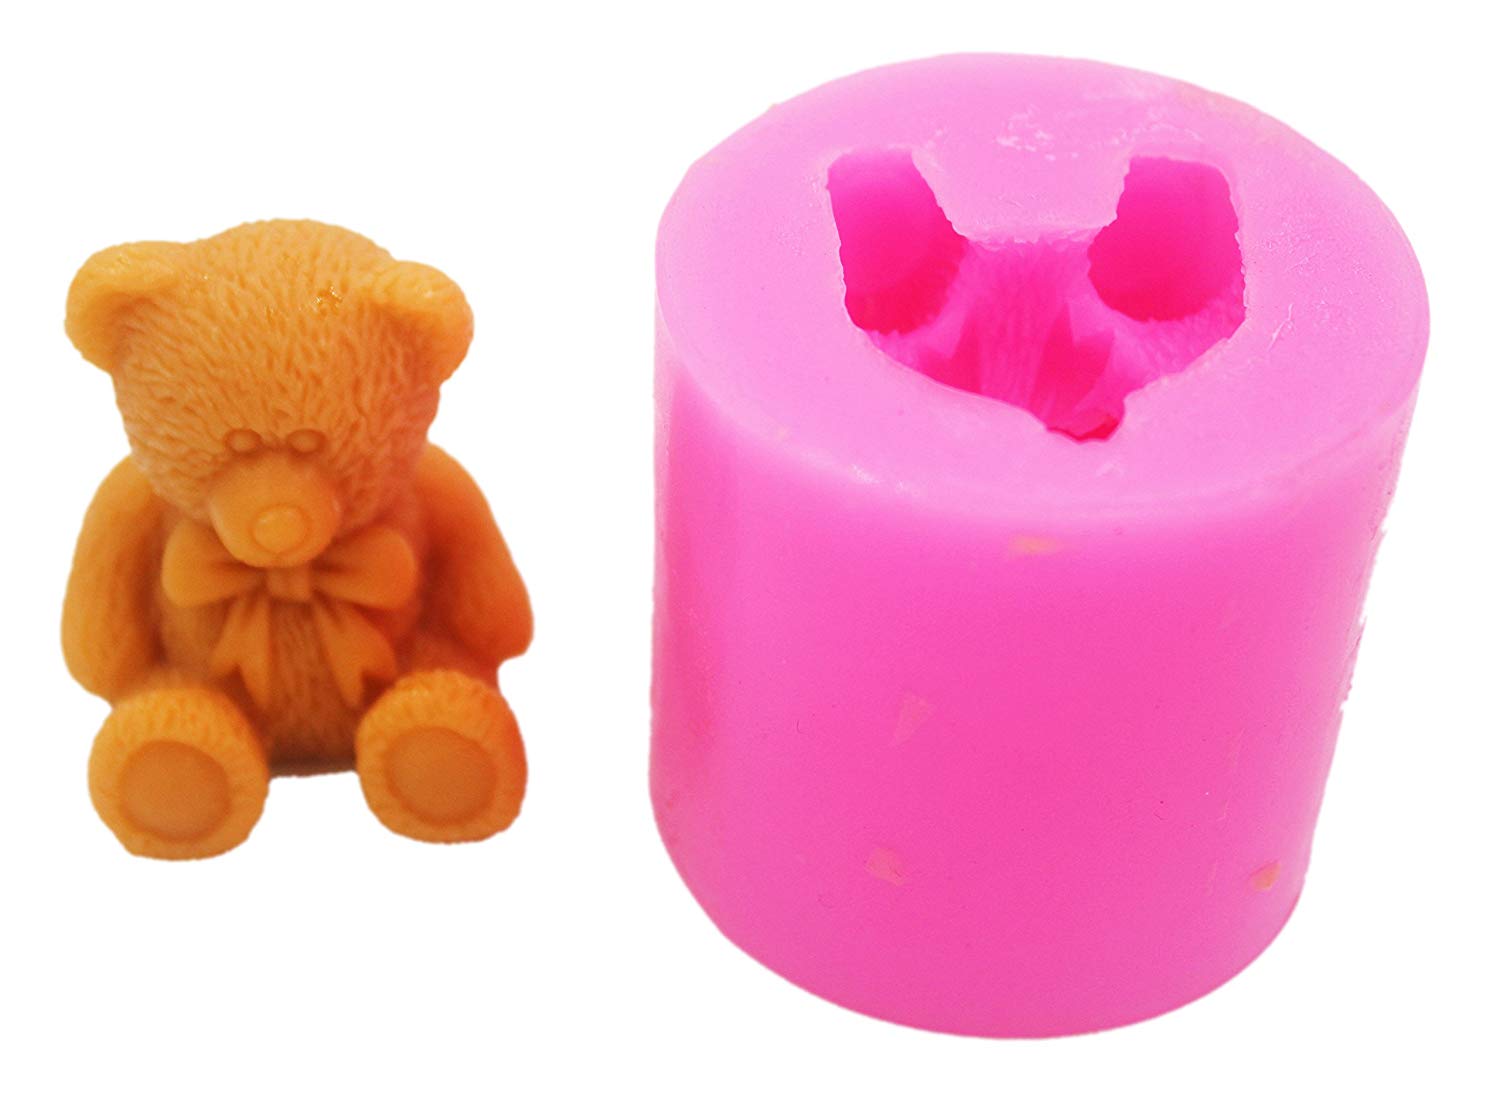
I recommend using the silicone molds that are now readily available. They are quite expensive but, if you treat them carefully, they will last a long time and you will be able to make hundreds of candles from them. They come in a huge range of designs, from bears with honeypots to frogs to (red) telephone boxes and pyramids. You can also get moulds for tea lights and floating candles, such as roses and sunflowers. For Christmas there are moulds for candles in the shape of bells, Christmas trees and Santas. Moulds made from glass, latex, metal and polycarbonate are also available so the choice is yours.

Silicone rubber molds have a slit down one side and across half of the base so that you can insert the wick. They will last a long time if treated carefully.
3D candle molds with the best reviews from candlemakers (including me):

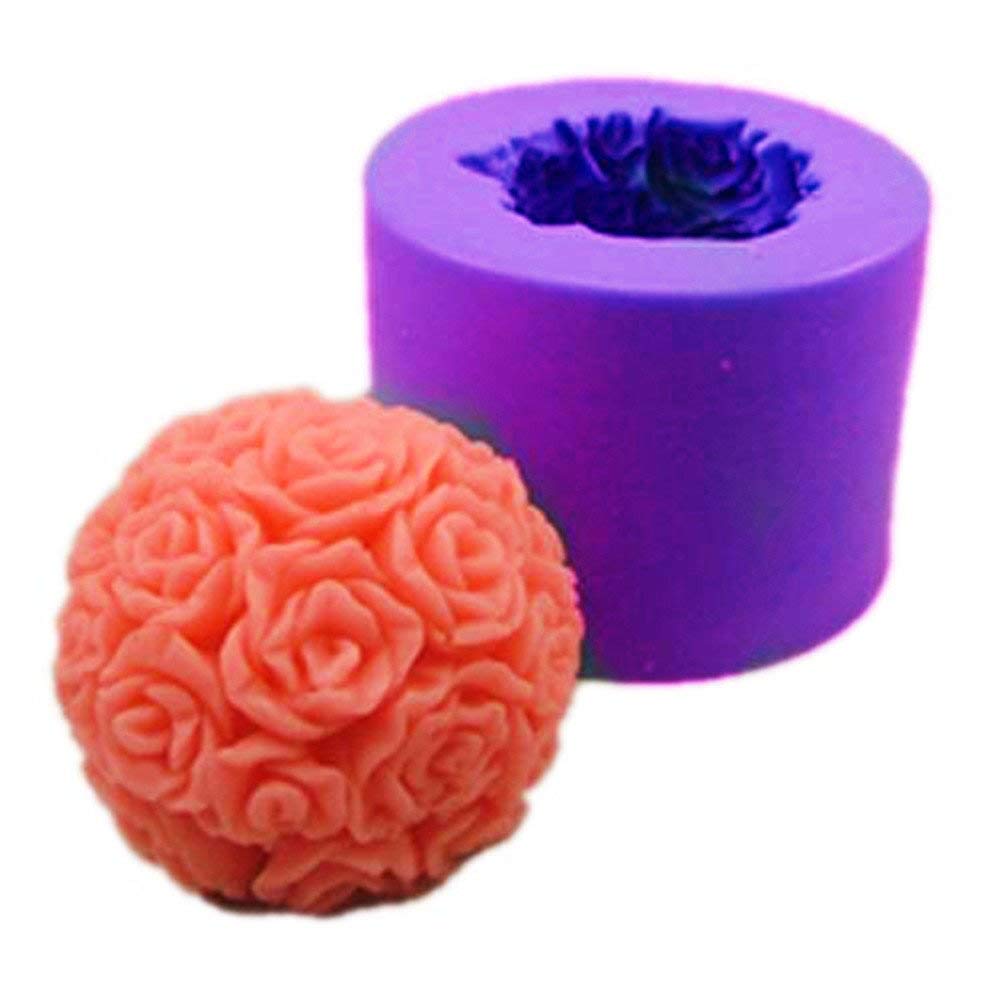
Silicone Rose Ball Candle Mold

Lotion Bar
For something a bit different, try making some lotion bars.
A lotion bar is a solid moisturiser which looks a bit like soap but works as a lotion. The warmth of your hands melts the bar and you can rub it into your skin. As long as the bar is kept at room temperature or below, it remains solid.
The beeswax in the bar acts as a natural moisturiser. It is combined with base oils such as sunflower, olive and castor oils, and a solid butter such as coconut, shea, cocoa butter or avocado oil. Approximately one per cent of vitamin E is included as a preservative to prevent the oils going rancid. Essential oils are included as desired. For instance, neem oil acts as an insect repellent, lavender oil promotes relaxation, and tea tree oil has antiseptic properties. There are many more oils available so you can make your own choice.

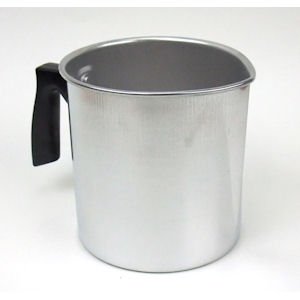
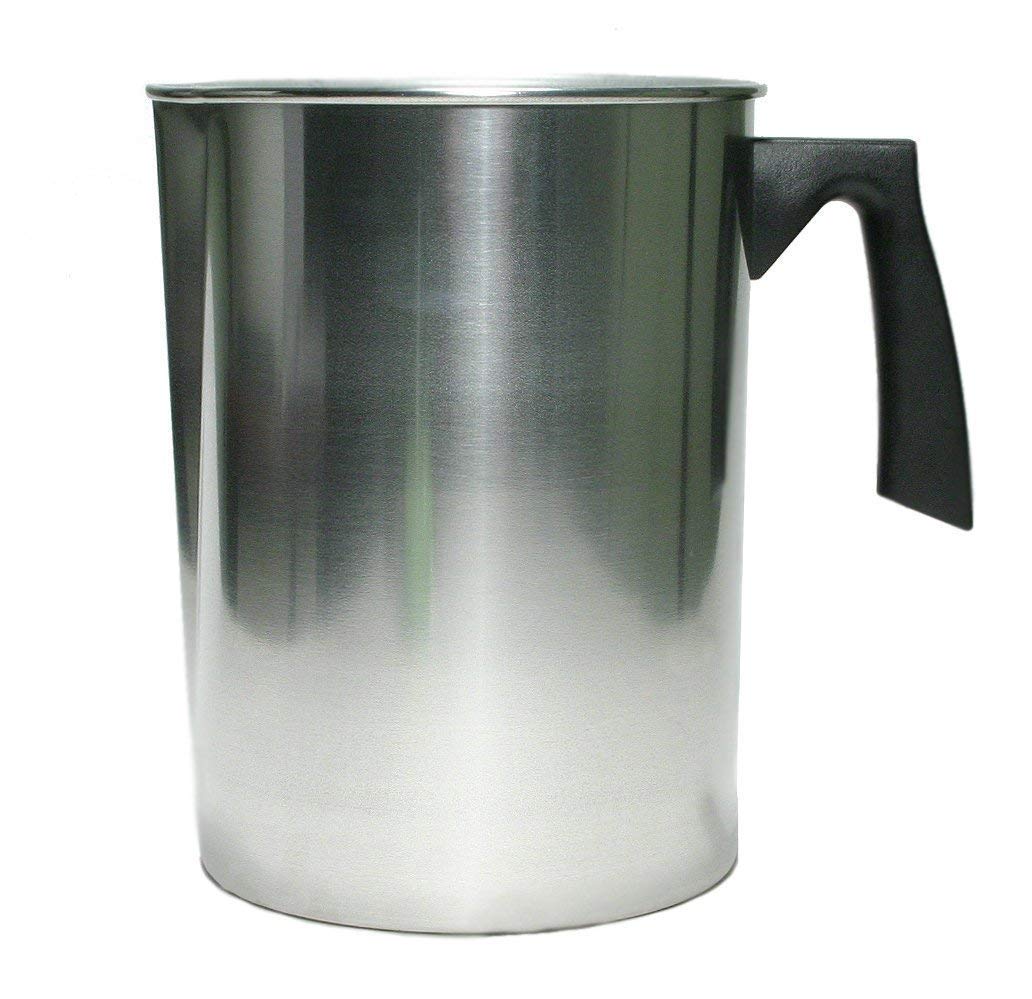
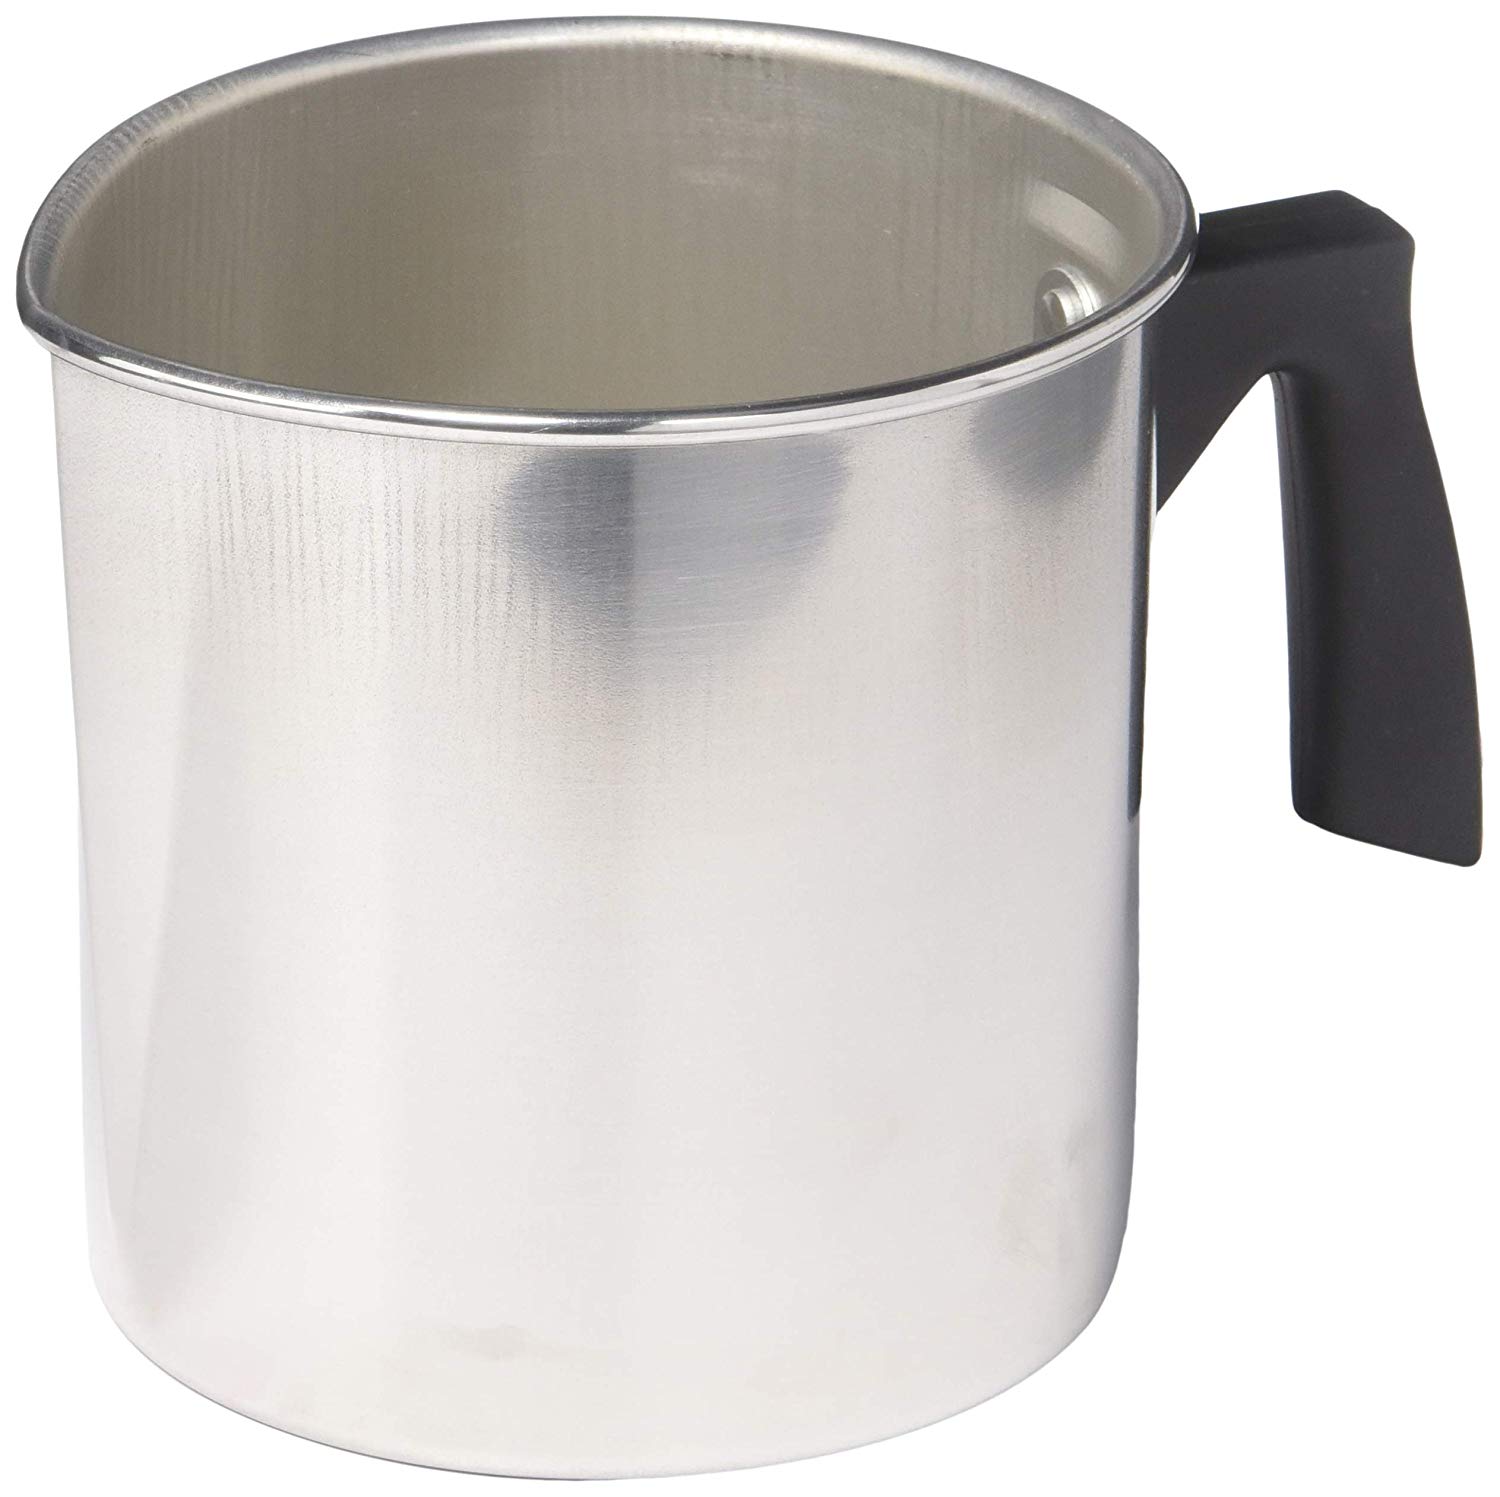
To make lotion bars you will need scales, a double boiler (or equivalent), a wooden spoon and a pouring jug.
Step-by-Step Beeswax Lotion Bar creating
Ingredients
- 1 part beeswax
- 1 part oil (maize oil/sunflower oil/ olive oil/castor oil)
- 1 part solid butter (coconut butter/shea butter/avocado oil/cocoa butter/mango butter or other luxury oils)
- Fragrance oil of your choice (optional)
- Vitamin E oil (as a preservative, but it is also excellent as a skin-care product)
- Essential oils of your choice, as desired
To make lotion bars you will need scales, a double boiler (or equivalent), a wooden spoon and a pouring jug.
Equipment
- A bain-marie or a double boiler (a glass bowl over a saucepan of hot water)
- A wooden spoon
- Scales
- A measuring jug
- A source of heat
- Suitable flexible molds are needed ‒ there are molds for making soap, jelly, small biscuits or sweets, but anything that is flexible and the right size will be suitable. Small lotion bars make attractive gifts.
To make lotion bars you will need scales, a double boiler (or equivalent), a wooden spoon and a pouring jug.
Method
- Weigh all your ingredients.
- Combine the oil and beeswax in the double boiler over a gentle heat until the wax is completely melted.
- Remove from the heat and add the remaining ingredients, stirring slowly until completely mixed.
- Pour carefully into molds.
- Leave to cool for three hours. To speed up solidification, the mold can be floated in cold water once the mixture has started to set.
- Pack as desired ‒ plastic zip lock bags, cellophane wrapping or small decorative tins are all OK. It is always best to make small quantities unless you have somewhere cool to store the bars.
To make lotion bars you will need scales, a double boiler (or equivalent), a wooden spoon and a pouring jug.
USING YOUR BAR
To use the lotion bar, simply take it and rub it between the palms of your hands. This will melt the surface which can then be rubbed over any part of your body that needs moisturising.